Showing posts with label baby/toddler. Show all posts

Wednesday, April 22, 2015

Doll Stroller Makeover

Not very long ago I bought one of those doll strollers for Katy. It lasted about a week before it got rips and tears in it. The fabric they used on it was so flimsy! I know I've seen people make over a little stroller like this one so I thought I'd give it a try. It's so so so important to take pictures of the old stuff so that you know how to put it all back together. I should have taken way more. But it turned out so cute! Brandon and Katy helped pick out the fabric and I used all the original binding and other pieces from the stroller. I've seen people spray paint the rods and handles a new color but I didn't have the patience for that :)

Before


Took everything apart

Traced the old pieces onto the new fabric

Started piecing everything back together.

Sewing the trim back on (the middle buckle piece shouldn't go there. It goes on the purple piece)

Iron hem 1/4 inch and 2 3/4 inch

Sew pockets for stroller rods to fit on. 2 1/2 inches on each side.

Attach bottom piece to top piece


Sew trim around bottom piece

Tada!


Saturday, November 1, 2014

Bumble bee costume

Brandon chose to be a bumble bee for Halloween this year. My kids picked such easy costumes!! I bought a black shirt and black sweats for about $10. Also bought a pair of fairy wings, headband, and pipe cleaner at the dollar store. I had some yellow felt on hand and hand sewed strips to the black shirt. I spray painted the wings black, attached pipe cleaner to the headband and done!


Tinkerbell Skirt

Katy wanted to be Tinker Bell for Halloween. Yay! I found a green shirt for her to wear and made her a little skirt to go with it. I found a simple tutorial at Make It and Love it . I bought one yard of satin green fabric for about $2. The tutorial uses fabric that doesn't fray but my satin fabric wouldn't be doing that. I just sewed two pieces together and turned it right side out, made a casing for elastic and done! (Katy's waist was 22" so I made the width of the skirt 44" and 16" long since I would be folding over a casing.)


Friday, July 4, 2014

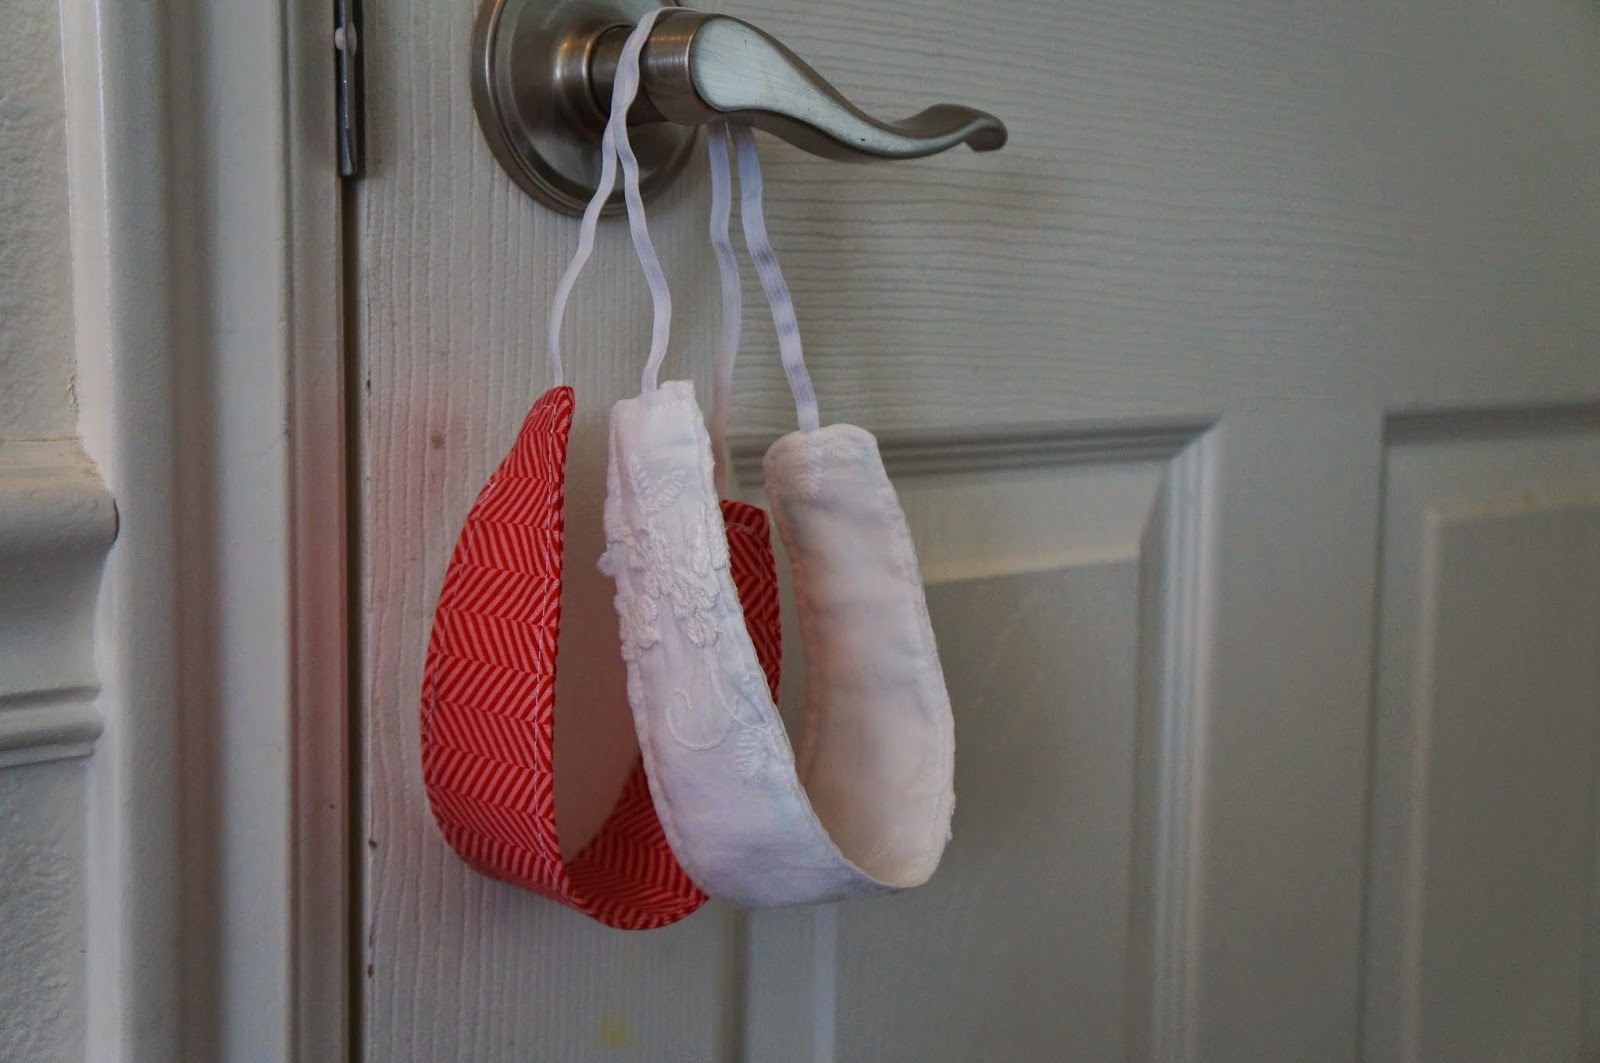
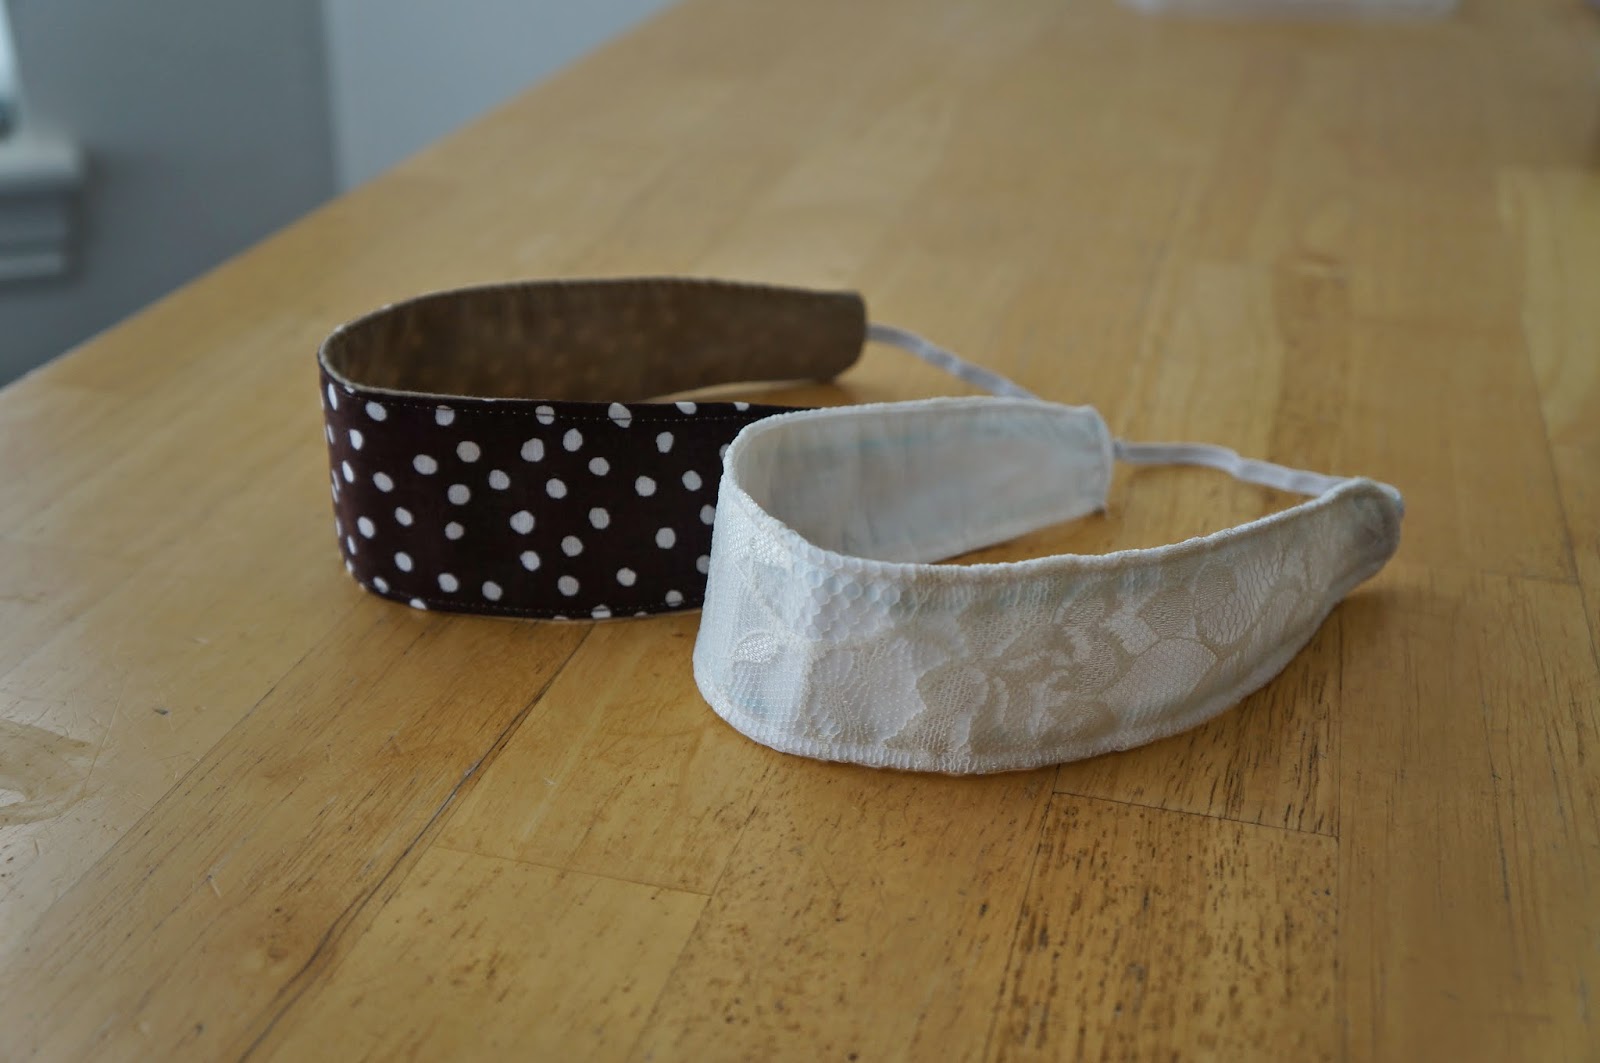
DIY Headband (Reversible)

This was so fun and simple!! I keep wanting to get more into headbands but can never find styles I like. A few years ago I attempted to make my own mod podge headbands and it worked pretty good. But these fabric headbands are so much more comfortable. AND reversible. Reversable? Reversible. Ok.

I found the tutorial HERE and printed off her template of the kids headband pattern. I found out how to make it adult size by migrating to another tutorial for a no-slip headband HERE. (Velcro is the secret!!) Anyway, she says to make the head band 16 inches and to use 6 inches of elastic. It was a perfect fit for my head! It's probably a good idea to measure your head but I don't have the patience for that.

The kids headband is 12 inches long and uses 10 inches of elastic. I thought that was a little weird that the kids headband used more elastic but I tried it on Katy and it is a little loose but she'll grow into it, right?

These headbands were a quick project and I want to make more!! Great way to use up your scraps.

 Kid headbands
So cute, right??

Brandon wanted to be involved too :)

Adult headbands


And here are the pattern pieces.

Tuesday, September 17, 2013

Dolly Diapers, Wipes and Diaper Bag

Katy's birthday is coming up and we want her to have her own girly toys. She's been sharing Brandon's boy toys and, while she can have fun with anything, her feminine nature is coming through and she needs girl stuff.

I decided to make her pretend diapers and wipes for her babies. And a little diaper bag to keep it all in.

I found a few tutorials that were all great. This one has the diaper pattern. This one has the wipes tutorial. And this one has directions for a tote bag.


I will do my best to put it all in one place here.

First of all, I bought 1/8 yard of fabric. (5 pieces of fabric for about $3) Cut it in half and sew the two pieces together, lengthwise. Press open.

 Using the diaper pattern, I made it a full sized pattern instead of the half that you cut out on a fold. I traced it onto an old sheet, nice and soft.

Pin right sides together and sew directly on the line.


Cut out, leaving a 1/4 inch edge trim corners and clip curves.

Turn right side out and press.

Top stitch. I sewed as close the edge as possible.

Sew on velcro and put that cute little diaper on a doll!


 Wipes
The same blog had a tutorial for dolly wipes. I used some left over felt and it took less than an hour to do this one. I used hot glue to attach the hearts. Oh, with this one I felt like the flap was a little small so I made it the same size as the wipes and it works great.


Diaper Bag
I found a super simple tutorial  for a little tote bag. My bag is 12"x9." She had a great little tip for making perfect square corners. So smart!!

I used some scrap pieces of curtains from Katy's room. Nice and sturdy. And pink!

 I added a little pocket on the side for a bottle.

Everything fits in perfectly! Yay!!

This was such a fun project and I can't wait for her to play with it!!

Monday, May 27, 2013

Felt Card Table Playhouse

This was so much fun!! Brandon was my helper with this project. He picked out all the colors and liked watching me sew it together. I got some great ideas online for the play house. There are so many cute ones! To buy one on Etsy can cost over $200. Ouch! I bought all my fabric at Joann's and used a 40% off coupon. They always have coupons and I LOVE that. I spent about $30 on mine and I have tons of extra fabric. I bought 5 yards of the blue colors and only used like 3 yards. So if any of you want to make your own play room I've got some fabric you could use...

I chose to use felt because #1 It doesn't fray so no binding is required and #2 it's cheaper.

Anyway, I followed a couple of tutorials that were very, very helpful. Make It and Love It has one and I found an even better tutorial here.


And here is my drawn out  plan for the play house.  The window frame measurements should be 2x16" and not 2x14"