Showing posts with label misc. projects. Show all posts

Friday, December 22, 2017

Dollhouse

At the end of August I started working on this project. I really wanted Katy to have a dollhouse but didn't like most of the ones from the store. My mom offered me part of a dollhouse that I grew up playing with. I was so excited to re-build and modernize a toy I loved playing with. I decided to removed the slanted roof and make it 3 stories.


We had some leftover MDF board from a previous project so that was nice to not have to go out and buy more wood. I took the whole thing apart and measured everything. Sean used his dad's power saw to cut the pieces I needed.

Putting it back together was a lot harder than I thought it would be. I used nails to secure everything and it is so hard to nail two pieces of wood together at a right angle! Eventually I got it rebuilt and painted.


And added new wallpaper and flooring with scrapbook paper and modpodge. The carpet is bathroom rugs.

And Popsicle stick baseboards :)

The furniture was sooo fun to make!

The couch and chair were made with thin pieces of craft wood and wooden spools. I layered thin foam for the cushions and covered with fabric.


 The big beds I painted and made mattresses with the foam.

 I also made blankets and pillows.
The toilet. It was so hard to find a dollhouse toilet!!! And there was no way I could make one that would be sturdy enough for playing. I found this beauty at the gas station for $1!

I cut the bottom of a bottle of Miralax for a tub and glued beads to the bottom for the feet.

Some scrap pieces of the MDF and dowels and Popsicle sticks. I also made mattresses for these.

I love the sinks! I cut and painted an iPhone box and used a condiment container for the bathroom sink. The faucet is a hook painted silver. The pink sink is part of a mini dollhouse Katy had.


 Blood, sweat and tears went into this project. I hope this is something Katy will enjoy for a loooooong time! She has seen the progress of the house but I keep telling her that I'm fixing it up for Grandma. There's not really a space for me to hide it from her! I'm excited to see her reaction on Christmas and to play with it with her! :)

Thursday, June 11, 2015

Stencil Art

These stencil projects are so much fun. And they turn out awesome! I'm considering selling them on Etsy. I followed the same process as the bird art I did a little while back. I bought the burlap canvas at Walmart for I think $5. I also bought a staple gun to attach the ribbon. Hot glue just doesn't cut it. Having a staple gun opens up a lot more possibilities for me now! Plus I feel pretty awesome using a staple gun.


Thursday, May 21, 2015

Padded Placemats

We bought a new kitchen table a few months ago. It's so beautiful and counter-height, which I love so much. However, kids are kids and they have managed to scratch it up. And Sean and I have, too. Oops. We have been searching and searching for cute protective placemats to keep on the table at all times. Nothing is out there. So I made some. This was a great project because I learned more about sewing products I have never used before: interfacing.

For more information on interfacing, please go here. I love her blog so much.

So, I started out making these placemats using quilt batting hoping it would provide some stabilization to the placemats. It ended up making them pillowy. So I read up on interfacing. I was at Joann's looking at all the different options for interfacing and found a foam stabilizer. Eureka! Washable, protective padding. (The link is for a whole bolt of foam but I was able to find it in store by the yard.)

I bought 2 1/2 yards of home decor fabric. (I've heard outdoor fabric is a good option, too, because its thick and spill-proof.) I also bought 2 1/2 yards of foam. (I really only needed 1 1/4 yards).

I cut two pieces of my fabric 19x13 inches and one piece of foam the same size. Sew the foam to the wrong side of one piece of fabric. Sew right sides together and then turn right-side out. Iron and top-stitch. I got 6 placemats from this fabric. Oh, and I just had a thought that you could use the foam to make your own mouse pad...


Wednesday, April 22, 2015

Doll Stroller Makeover

Not very long ago I bought one of those doll strollers for Katy. It lasted about a week before it got rips and tears in it. The fabric they used on it was so flimsy! I know I've seen people make over a little stroller like this one so I thought I'd give it a try. It's so so so important to take pictures of the old stuff so that you know how to put it all back together. I should have taken way more. But it turned out so cute! Brandon and Katy helped pick out the fabric and I used all the original binding and other pieces from the stroller. I've seen people spray paint the rods and handles a new color but I didn't have the patience for that :)

Before


Took everything apart

Traced the old pieces onto the new fabric

Started piecing everything back together.

Sewing the trim back on (the middle buckle piece shouldn't go there. It goes on the purple piece)

Iron hem 1/4 inch and 2 3/4 inch

Sew pockets for stroller rods to fit on. 2 1/2 inches on each side.

Attach bottom piece to top piece


Sew trim around bottom piece

Tada!


Tuesday, March 10, 2015

Entryway shelf Decor

Not exactly sure if this belongs here but I just love how this turned out and I gotta share. I have been searching and searching for the pierfect shelf/coat rack for our entry way. I needed something functional and pretty. I FINALLY found a great one at Joann's for half off. I made the doily jar (I used 4" doilies) and framed quote to go on top. I just love to look at it.


Burlap Canvas

This is a super simple and quick project. I used my silhouette to cut out a stencil of the bird and branch. Then I just used a little spouncer tool and painted it on the pre-made burlap canvas that I found at walmart. There are so many possibilities with this project. Tutorial found here.


Framed Monogram Letter

I think monogram is the correct name for this project. This was so much fun to put together. I found the cool shadow box and wodden letter at walmart. The burlap-type background "came with the frame." I painted the letter white and then mod podged scrapbook paper to the front. I added an adorable fabric flower (tutorial found here) and hot glued the whole thing to the frame. It's so happy!


Monday, February 16, 2015

Split panel Bird Wall Art

This was such a fun project. I love creating things that people love. Katy needed some kind of art on the bare walls of her room. It's pretty self-explanatory, I think. Katy got to help me glue on all the leaves and chose where the sun would go. She loves the pink kissing birds and all those sparkles!


Friday, December 26, 2014

Airplane mobile

For Christmas I got a Silhouette Cameo! I love it so much! I have so many more crafting options than I did with the Cricut. The Cricut was a great tool but very limited in what and how you create. My first project was cutting these 3D airplanes to hang in Brandon's room. I LOVE how they turned out!!! And it was so easy. There are so many possibilities for me now!


This is Brandon's view from the bed :)

Thursday, December 11, 2014

Easy Tube Pillow Case

I have seen this pillowcase tutorial floating around Pinterest. The other day at Joann's I found some super cute airplane fabric and decided to make a pillowcase for Brandon's bed. I'm in the process of redecorating his room. I will post a video showing the process. It's so awesome! It goes so quick and it's so easy. I gotta make more. You can also find instructions here.


Friday, July 4, 2014

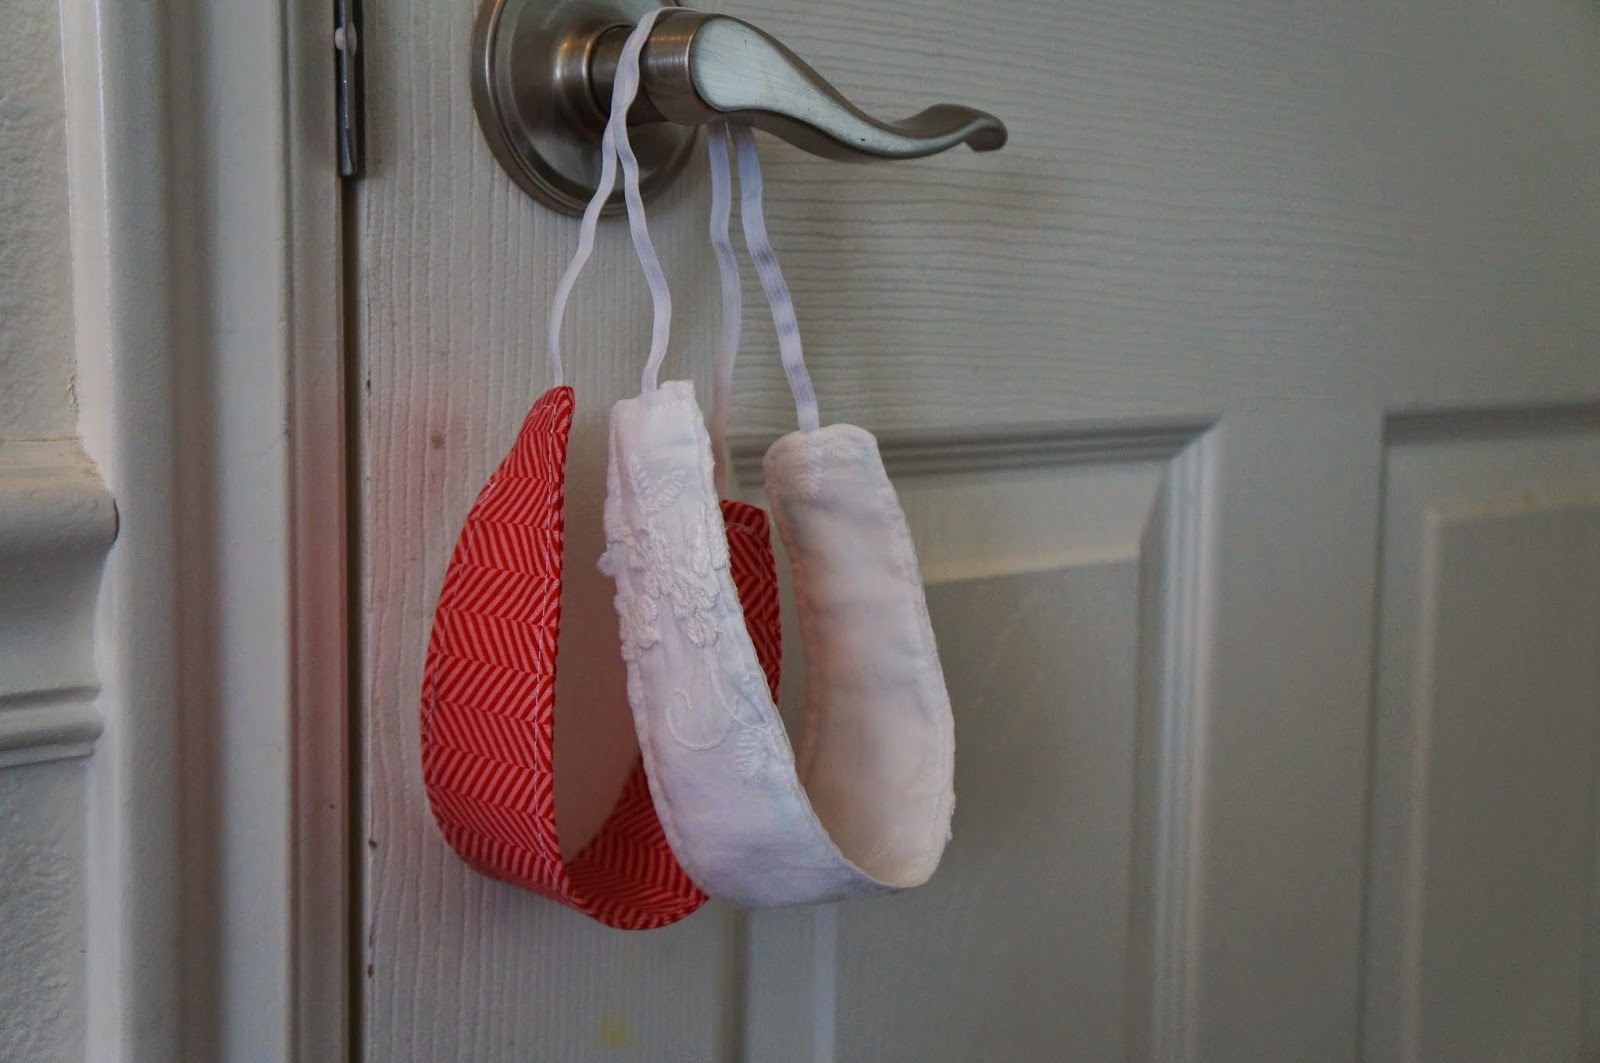
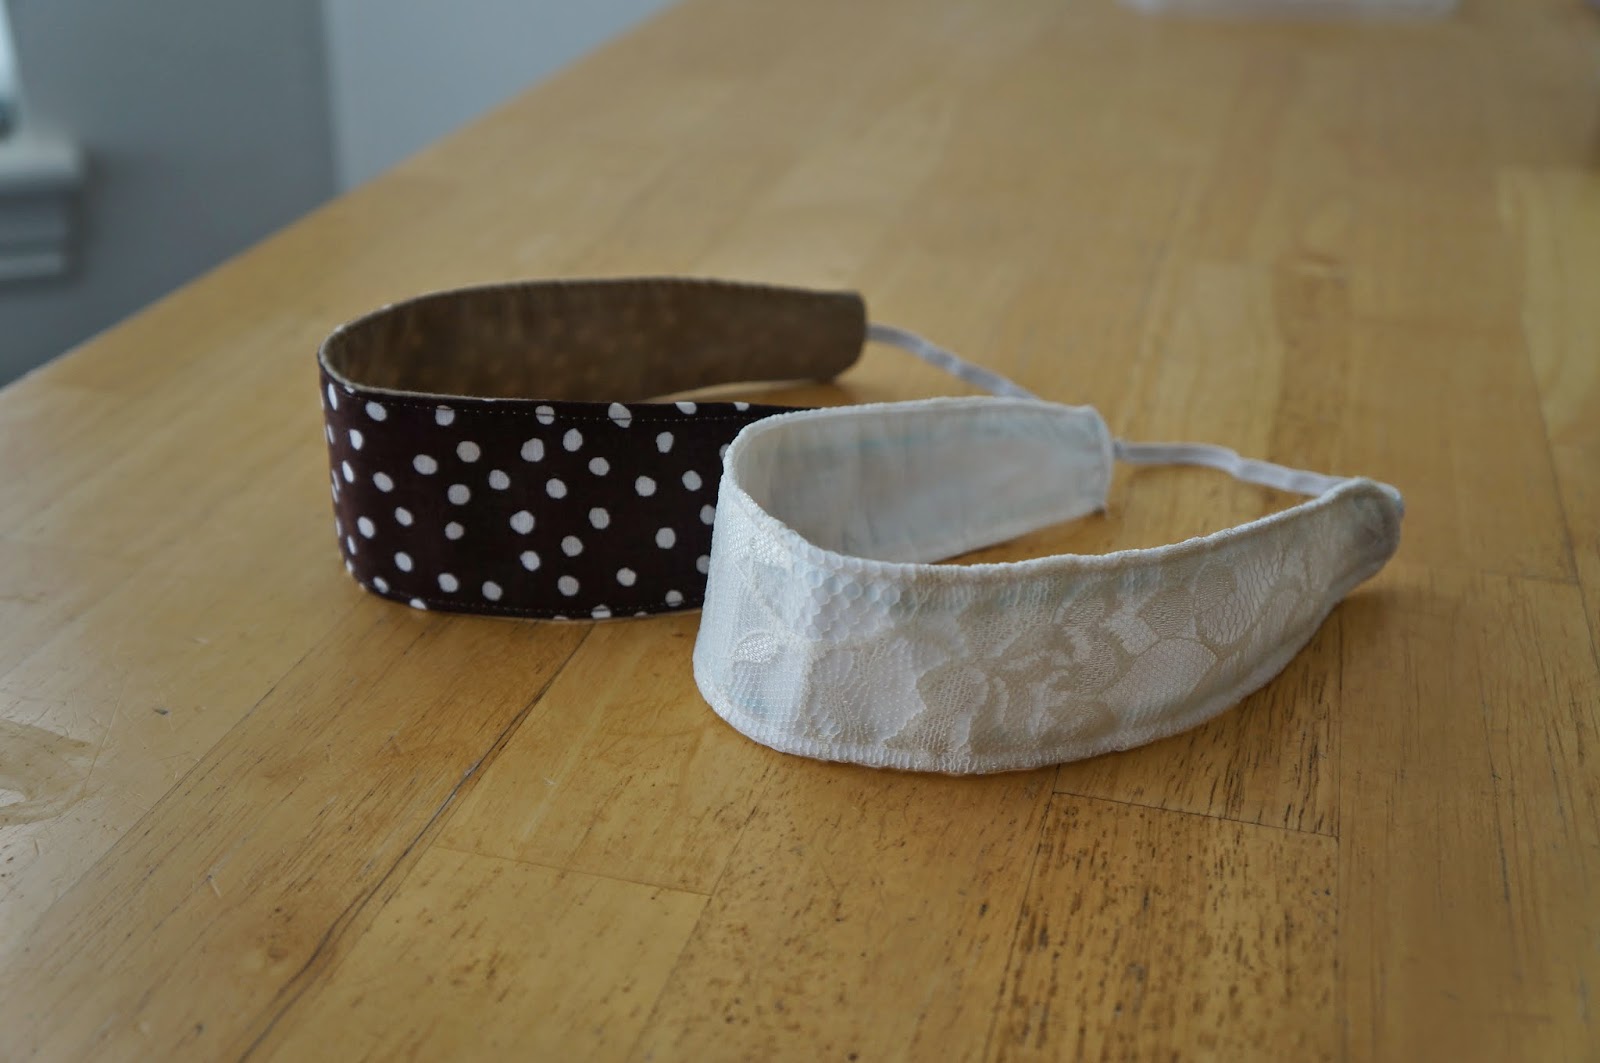
DIY Headband (Reversible)

This was so fun and simple!! I keep wanting to get more into headbands but can never find styles I like. A few years ago I attempted to make my own mod podge headbands and it worked pretty good. But these fabric headbands are so much more comfortable. AND reversible. Reversable? Reversible. Ok.

I found the tutorial HERE and printed off her template of the kids headband pattern. I found out how to make it adult size by migrating to another tutorial for a no-slip headband HERE. (Velcro is the secret!!) Anyway, she says to make the head band 16 inches and to use 6 inches of elastic. It was a perfect fit for my head! It's probably a good idea to measure your head but I don't have the patience for that.

The kids headband is 12 inches long and uses 10 inches of elastic. I thought that was a little weird that the kids headband used more elastic but I tried it on Katy and it is a little loose but she'll grow into it, right?

These headbands were a quick project and I want to make more!! Great way to use up your scraps.

 Kid headbands
So cute, right??

Brandon wanted to be involved too :)

Adult headbands


And here are the pattern pieces.