Last year I saw these ornaments at Deseret Book and loved them. This year they were no longer available so I thought I'd try making them myself.
There were a few different ways I thought of doing these. I could have gotten a pack of star gift tags, or stitched on some felt. I chose to do wooden stars because I didn't feel like hand-sewing and the wooden stars were easier to find. I got 2 packs of wooden stars for like $2 each, a small can of metallic silver spray paint ($3), and puffy paint ($1).
I drew where I wanted the little dots to go and then used the puffy paint. Hand cramp!
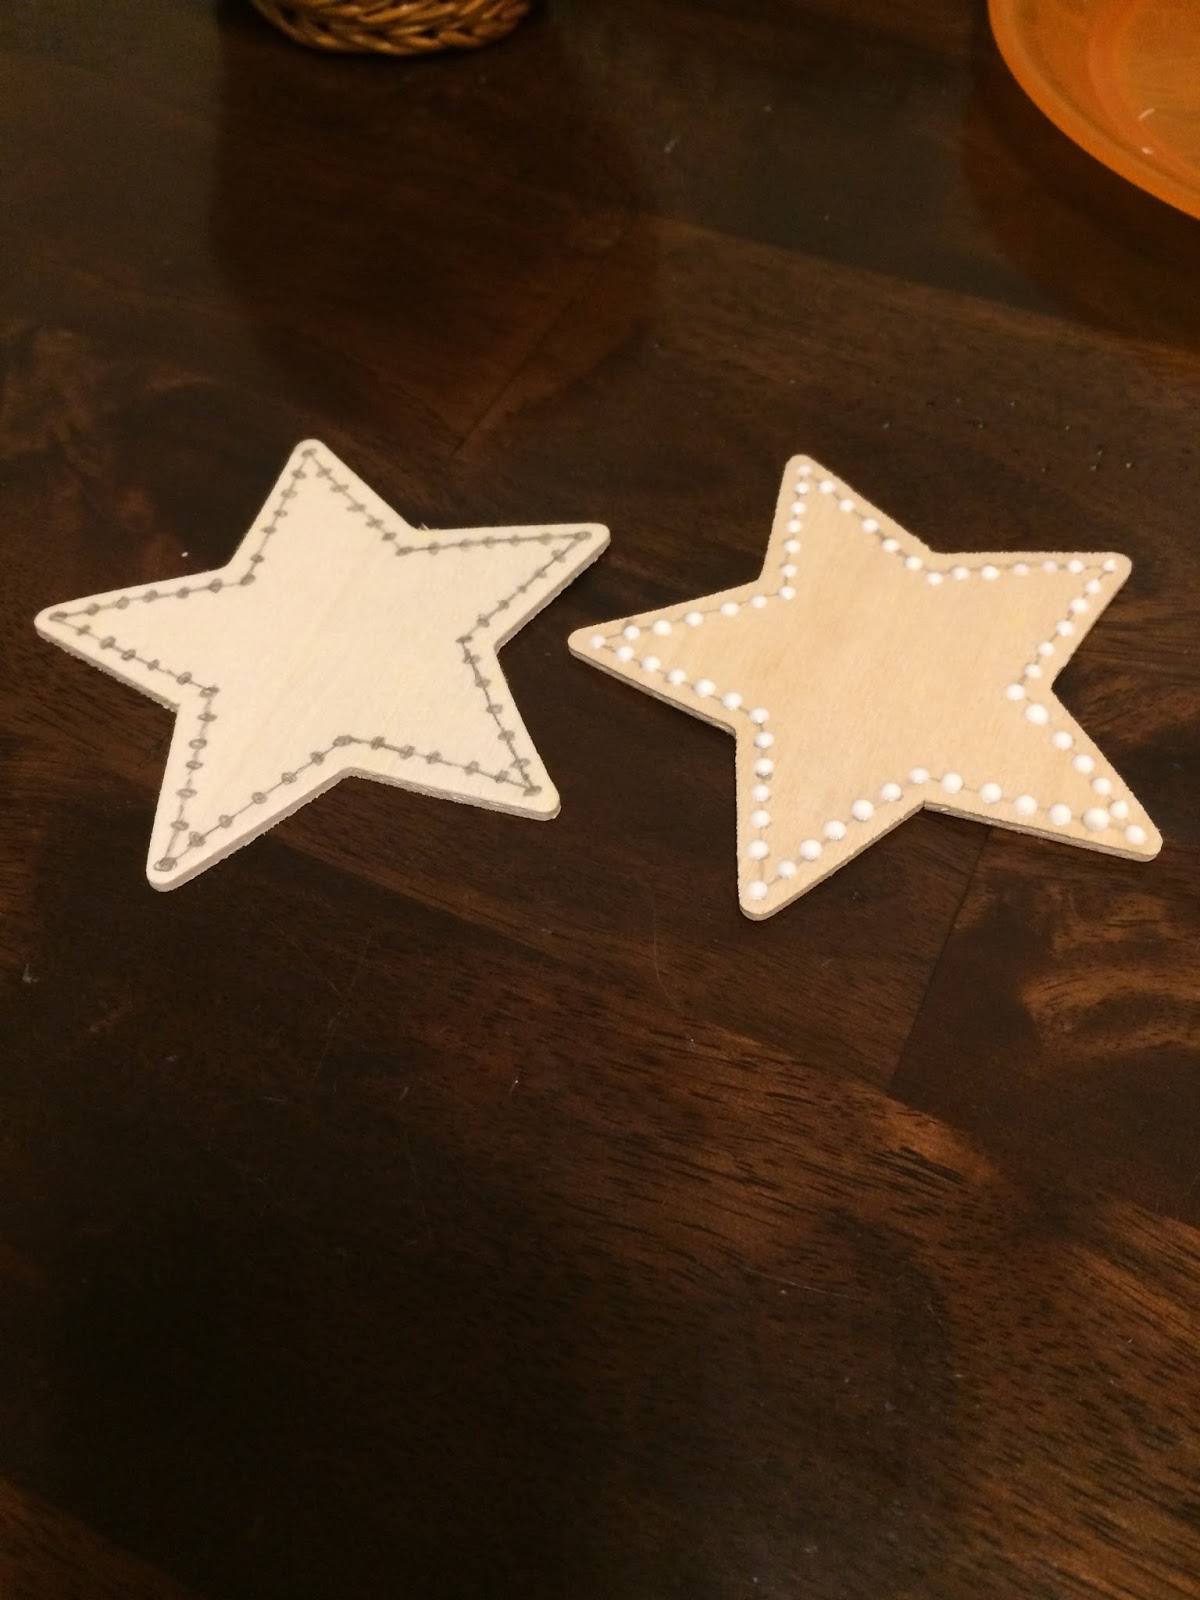
Then I spray painted them. I learned that the vinyl doesn't stick as well to that metallic paint. I sprayed a coat of clear acrylic spray and then the vinyl stuck better. I made a couple extra ones with a nativity scene on them for a few of my friends. And one more coating of the clear acrylic spray. I hot-glued a loop of jute to the back and hung them on the tree. Yay!
Saturday, December 24, 2016
Thursday, July 2, 2015
Piped Pillow Cover
Piping can be evil. I tried making my own and that did not go well. So glad I can pay to have someone make it for me :)
Anyway, I made these pillows to go on our new bedspread that I made (pics of that coming soon). I saw a tip on Pinterest to cut a king-sized pillow in half to make two throw pillows. Pillow inserts can be so expensive! This cost me less than $10 to make two. So cool.
My pillows measured 17x17 inches. So I cut my fabric 18x18. I also used interfacing for the first time. Awesome!! I followed this tutorial from Make It and Love It. I LOVE how they turned out!
Thursday, June 11, 2015
Stencil Art
These stencil projects are so much fun. And they turn out awesome! I'm considering selling them on Etsy. I followed the same process as the bird art I did a little while back. I bought the burlap canvas at Walmart for I think $5. I also bought a staple gun to attach the ribbon. Hot glue just doesn't cut it. Having a staple gun opens up a lot more possibilities for me now! Plus I feel pretty awesome using a staple gun.
Thursday, May 21, 2015
Padded Placemats
We bought a new kitchen table a few months ago. It's so beautiful and counter-height, which I love so much. However, kids are kids and they have managed to scratch it up. And Sean and I have, too. Oops. We have been searching and searching for cute protective placemats to keep on the table at all times. Nothing is out there. So I made some. This was a great project because I learned more about sewing products I have never used before: interfacing.
For more information on interfacing, please go here. I love her blog so much.
So, I started out making these placemats using quilt batting hoping it would provide some stabilization to the placemats. It ended up making them pillowy. So I read up on interfacing. I was at Joann's looking at all the different options for interfacing and found a foam stabilizer. Eureka! Washable, protective padding. (The link is for a whole bolt of foam but I was able to find it in store by the yard.)
I bought 2 1/2 yards of home decor fabric. (I've heard outdoor fabric is a good option, too, because its thick and spill-proof.) I also bought 2 1/2 yards of foam. (I really only needed 1 1/4 yards).
I cut two pieces of my fabric 19x13 inches and one piece of foam the same size. Sew the foam to the wrong side of one piece of fabric. Sew right sides together and then turn right-side out. Iron and top-stitch. I got 6 placemats from this fabric. Oh, and I just had a thought that you could use the foam to make your own mouse pad...
Wednesday, April 22, 2015
Doll Stroller Makeover
Not very long ago I bought one of those doll strollers for Katy. It lasted about a week before it got rips and tears in it. The fabric they used on it was so flimsy! I know I've seen people make over a little stroller like this one so I thought I'd give it a try. It's so so so important to take pictures of the old stuff so that you know how to put it all back together. I should have taken way more. But it turned out so cute! Brandon and Katy helped pick out the fabric and I used all the original binding and other pieces from the stroller. I've seen people spray paint the rods and handles a new color but I didn't have the patience for that :)
Before
Took everything apart
Traced the old pieces onto the new fabric
Started piecing everything back together.
Sewing the trim back on (the middle buckle piece shouldn't go there. It goes on the purple piece)
Iron hem 1/4 inch and 2 3/4 inch
Attach bottom piece to top piece
Sew trim around bottom piece
Tada!
Before
Took everything apart
Traced the old pieces onto the new fabric
Started piecing everything back together.
Sewing the trim back on (the middle buckle piece shouldn't go there. It goes on the purple piece)
Iron hem 1/4 inch and 2 3/4 inch
Sew pockets for stroller rods to fit on. 2 1/2 inches on each side.
Attach bottom piece to top piece
Sew trim around bottom piece
Tada!
Wednesday, April 8, 2015
Tie-Up Valance (again)
I have loved the valance I made for the kitchen window. But that gray color was starting to wear on me. I wanted something bright and colorful. I bought some home decor fabric at Joann's, ya know, the kind that comes on that big 'ol roll. I've never bought that kind of fabric before. It's so intimidating. And a little pricey. But it was 40% off. Uh, check! I bought 1 1/2 yards and put these together in a few hours and I kept the same ribbon. I love how bright and cheery they are!!
Tuesday, March 10, 2015
Entryway shelf Decor
Not exactly sure if this belongs here but I just love how this turned out and I gotta share. I have been searching and searching for the pierfect shelf/coat rack for our entry way. I needed something functional and pretty. I FINALLY found a great one at Joann's for half off. I made the doily jar (I used 4" doilies) and framed quote to go on top. I just love to look at it.
Subscribe to:
Posts (Atom)