Friday, December 26, 2014

Airplane mobile

For Christmas I got a Silhouette Cameo! I love it so much! I have so many more crafting options than I did with the Cricut. The Cricut was a great tool but very limited in what and how you create. My first project was cutting these 3D airplanes to hang in Brandon's room. I LOVE how they turned out!!! And it was so easy. There are so many possibilities for me now!


This is Brandon's view from the bed :)

Thursday, December 11, 2014

Easy Tube Pillow Case

I have seen this pillowcase tutorial floating around Pinterest. The other day at Joann's I found some super cute airplane fabric and decided to make a pillowcase for Brandon's bed. I'm in the process of redecorating his room. I will post a video showing the process. It's so awesome! It goes so quick and it's so easy. I gotta make more. You can also find instructions here.


Monday, December 8, 2014

Fabric Ornaments

Loved this project. And I got to use some of my cute Christmas fabric scraps and cover some of our existing ornaments. This cost me a total of $1 for the ornament hooks. Found the tutorial here. She says to use a 13x13 square piece of fabric but I thought that was a little big. I think mine were 10x10 or maybe even smaller. I'm considering recovering my music note ornaments with music fabric....


Friday, November 21, 2014

Burlap Christmas Wreath

I've seen burlap coming up all over Pinterest for home decor stuff and I just love it. And I LOVE this wreath. I wanted to do a burlap/lace Fall wreath but I ran out of time to do that. This was such a fun, cheap project and I love how it turned out. I bought a moss/grass wreath for $5 and wrapped it twice with some burlap ribbon ($3.50). Then I added some white poinsettia flowers, pine cones, holly leaves, holly berries, and ribbon ($3) with lots and lots of hot glue. I couldn't wait until next week to hang it up so, yes, it's hanging on my door now before Thanksgiving :)


Saturday, November 1, 2014

Bumble bee costume

Brandon chose to be a bumble bee for Halloween this year. My kids picked such easy costumes!! I bought a black shirt and black sweats for about $10. Also bought a pair of fairy wings, headband, and pipe cleaner at the dollar store. I had some yellow felt on hand and hand sewed strips to the black shirt. I spray painted the wings black, attached pipe cleaner to the headband and done!


Tinkerbell Skirt

Katy wanted to be Tinker Bell for Halloween. Yay! I found a green shirt for her to wear and made her a little skirt to go with it. I found a simple tutorial at Make It and Love it . I bought one yard of satin green fabric for about $2. The tutorial uses fabric that doesn't fray but my satin fabric wouldn't be doing that. I just sewed two pieces together and turned it right side out, made a casing for elastic and done! (Katy's waist was 22" so I made the width of the skirt 44" and 16" long since I would be folding over a casing.)


Friday, July 4, 2014

DIY Headband (Reversible)

This was so fun and simple!! I keep wanting to get more into headbands but can never find styles I like. A few years ago I attempted to make my own mod podge headbands and it worked pretty good. But these fabric headbands are so much more comfortable. AND reversible. Reversable? Reversible. Ok.

I found the tutorial HERE and printed off her template of the kids headband pattern. I found out how to make it adult size by migrating to another tutorial for a no-slip headband HERE. (Velcro is the secret!!) Anyway, she says to make the head band 16 inches and to use 6 inches of elastic. It was a perfect fit for my head! It's probably a good idea to measure your head but I don't have the patience for that.

The kids headband is 12 inches long and uses 10 inches of elastic. I thought that was a little weird that the kids headband used more elastic but I tried it on Katy and it is a little loose but she'll grow into it, right?

These headbands were a quick project and I want to make more!! Great way to use up your scraps.
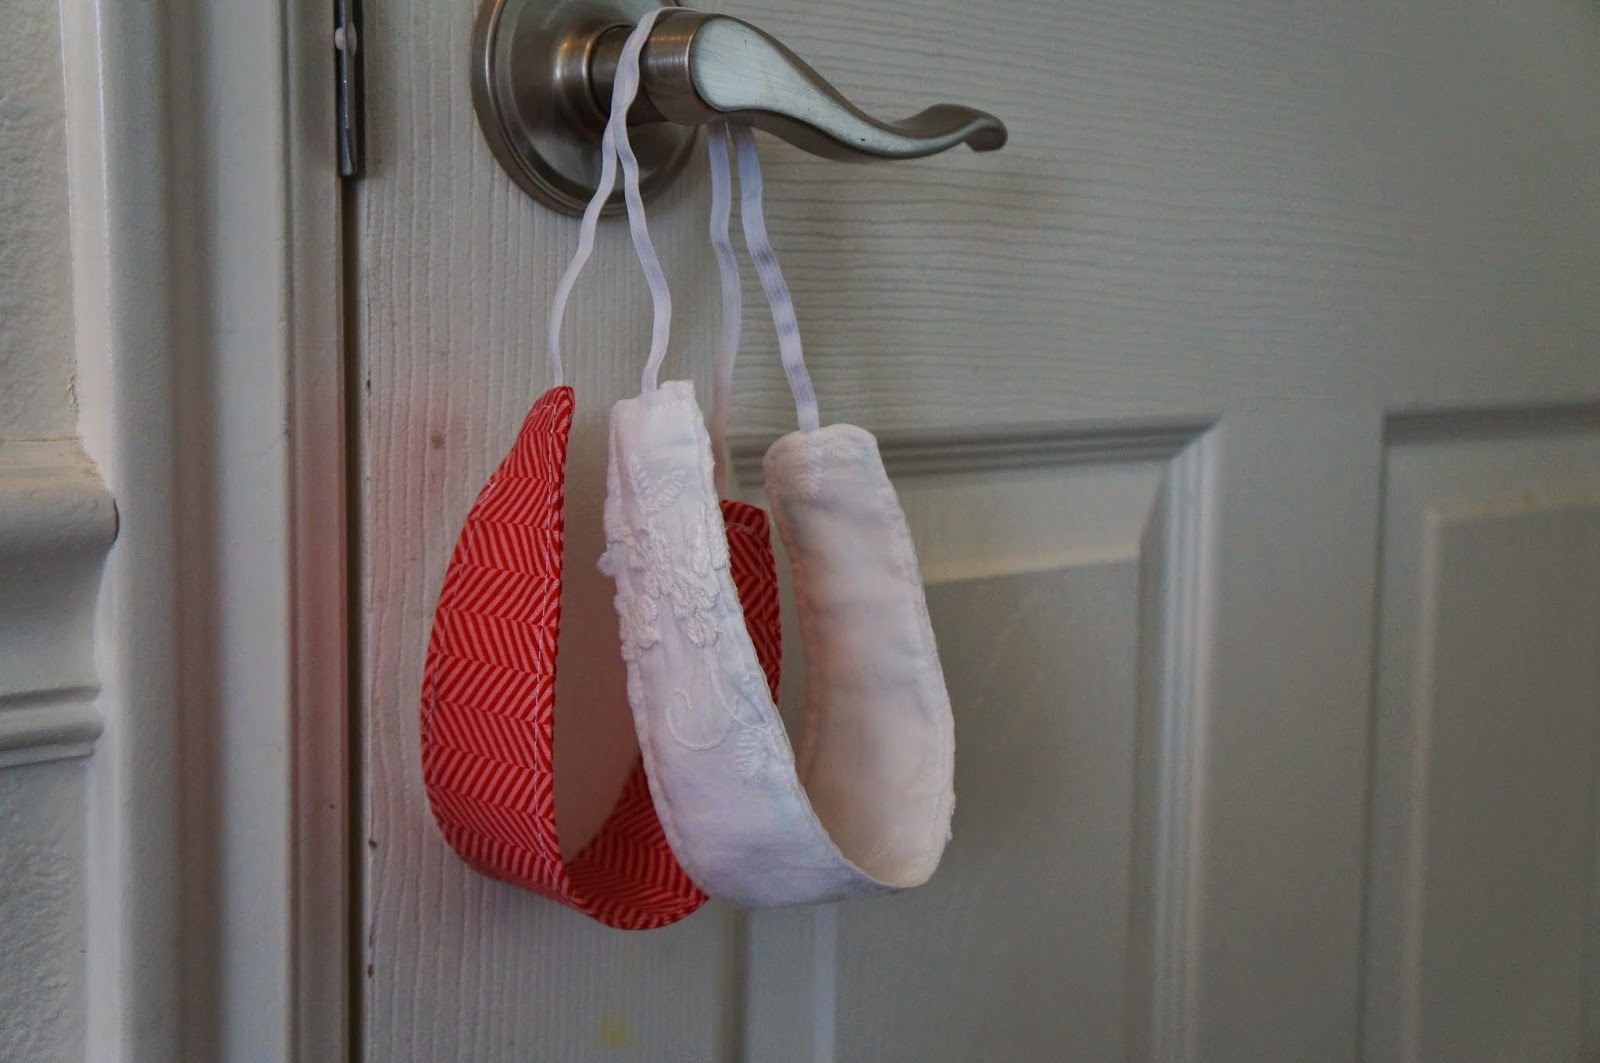
 Kid headbands
So cute, right??

Brandon wanted to be involved too :)
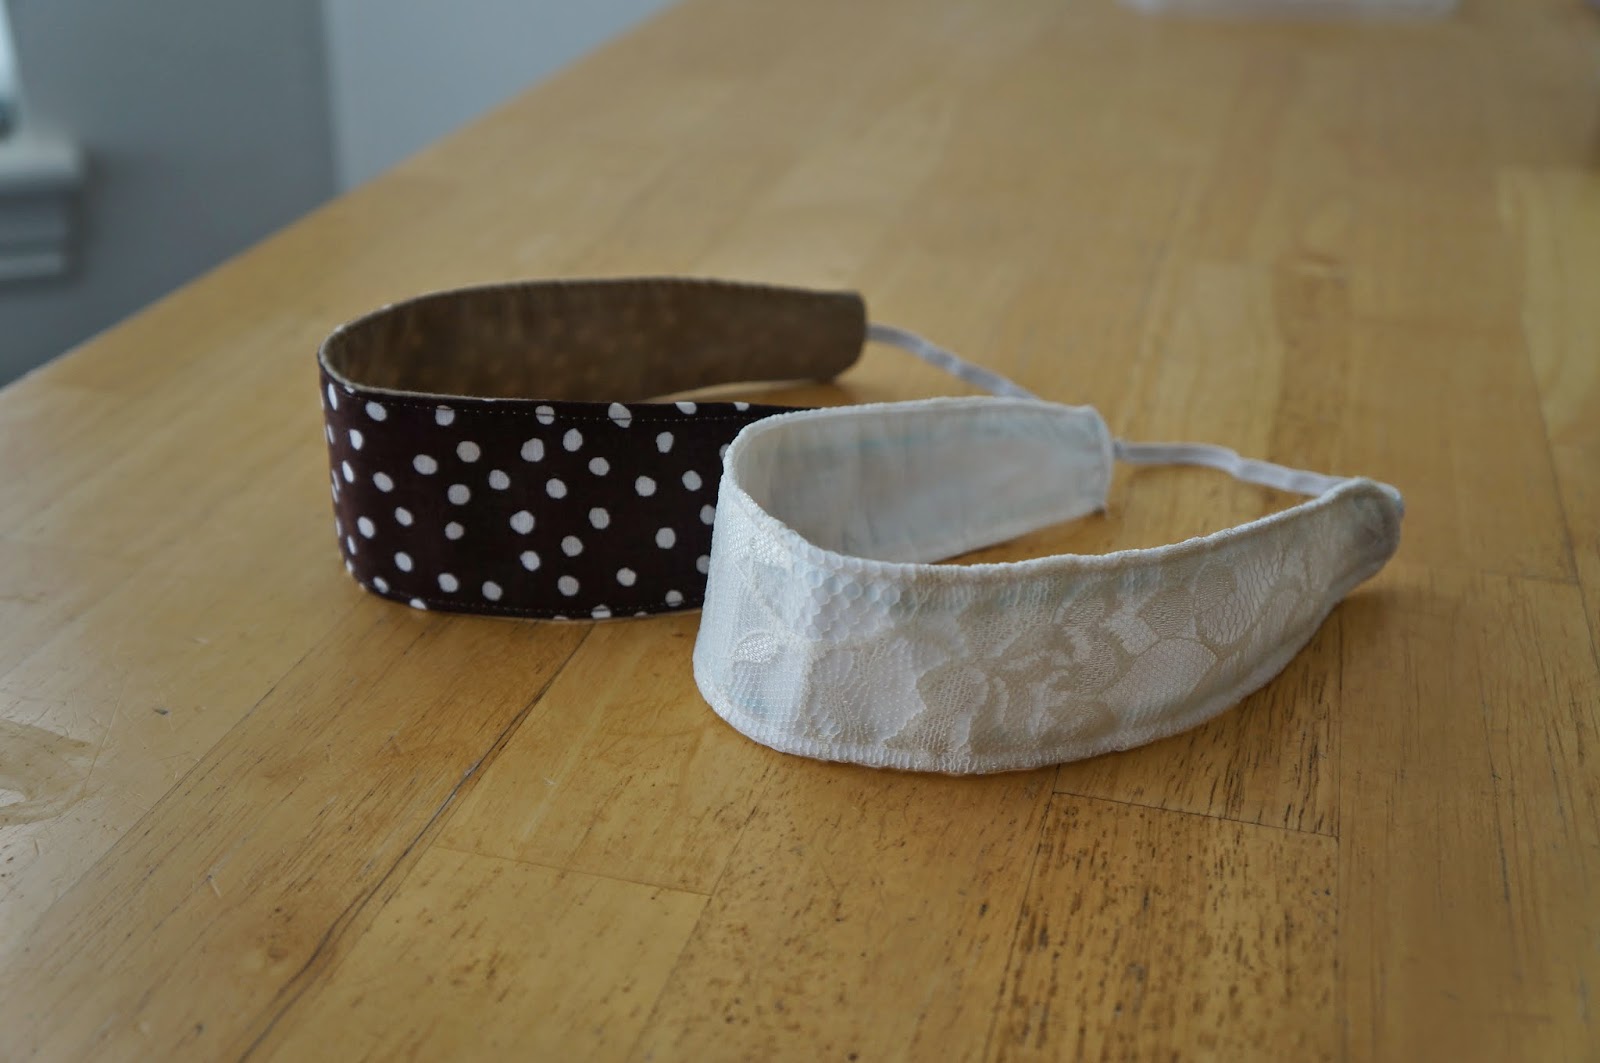
Adult headbands


And here are the pattern pieces.

Sunday, April 6, 2014

Lamp shade makeover

I've had this table lamp for a little while and have wanted to recover the shade. It's in good shape but I didn't like the red. Not my style. And the more I looked at it the more I disliked the shape of it, too. So I chose to just buy one and dressed it up a bit. I bought a burlap lamp shade and a spool of ribbon for $12.


The switch was simple because this lamp shade just lifts right off the base
I marked 1/2 inch on top and bottom and used hot glue to attach the ribbon
Fold over the end of the ribbon at the seam
I also added an adorable bow!

After. I love it!


Wednesday, March 12, 2014

Birthday Banner

I love this banner!! I made mine out of felt. I got my inspiration here.

I made my triangles 5" wide and 7" long.
Then I printed off the letters I wanted and pinned them to the color of felt I wanted and cut, cut, cut.

The white circle behind I traced from a cookie cutter an used my pinking shears.


 I also chose to hand-sew the letters to the white circle. Then used my sewing machine to attach that to the triangle.

The trianges would be attached by bias tape. I overlapped the trianges by 1/2 inch and sewed them togher

Attachign the bias tape was a cinch. Open up the tape and sew right on the line. Then fold over.

I used ribbon for the hook. I cut mine 5 inches long and attached it will hot glue before folding over the bias tape.


All done! I love it!