Katy picked out this super cute dress for Easter but it didn't have any sleeves. I know it's not a huge deal and most people aren't bothered by a sleeveless dress for their daughters, but it bothers me. We fight whenever I ask her to wear either a shirt underneath or a sweater on top. I don't know why she hates it so much but I'm kinda tired of battling that. So I found this awesome tutorial(https://www.sewcanshe.com/blog/2018/3/23/add-a-diy-sleeve-to-any-dress-free-sewing-tutorial) on how to add sleeves to ANY dress/shirt. Sh's figured out all the sewing math so all you have to do is measure your dress and plug in those numbers. I tried to match the color of the dress with some silky and tulle-y fabric from Joanns. At 40% off it cost me $3 for 1/2 yard of fabric. I think it turned out great! And it wasn't very difficult. Now I need to go through the rest of her dresses!
Showing posts with label clothing. Show all posts
Showing posts with label clothing. Show all posts
Friday, April 6, 2018
Saturday, November 1, 2014
Bumble bee costume
Brandon chose to be a bumble bee for Halloween this year. My kids picked such easy costumes!! I bought a black shirt and black sweats for about $10. Also bought a pair of fairy wings, headband, and pipe cleaner at the dollar store. I had some yellow felt on hand and hand sewed strips to the black shirt. I spray painted the wings black, attached pipe cleaner to the headband and done!
Tinkerbell Skirt
Katy wanted to be Tinker Bell for Halloween. Yay! I found a green shirt for her to wear and made her a little skirt to go with it. I found a simple tutorial at Make It and Love it . I bought one yard of satin green fabric for about $2. The tutorial uses fabric that doesn't fray but my satin fabric wouldn't be doing that. I just sewed two pieces together and turned it right side out, made a casing for elastic and done! (Katy's waist was 22" so I made the width of the skirt 44" and 16" long since I would be folding over a casing.)
Friday, July 4, 2014
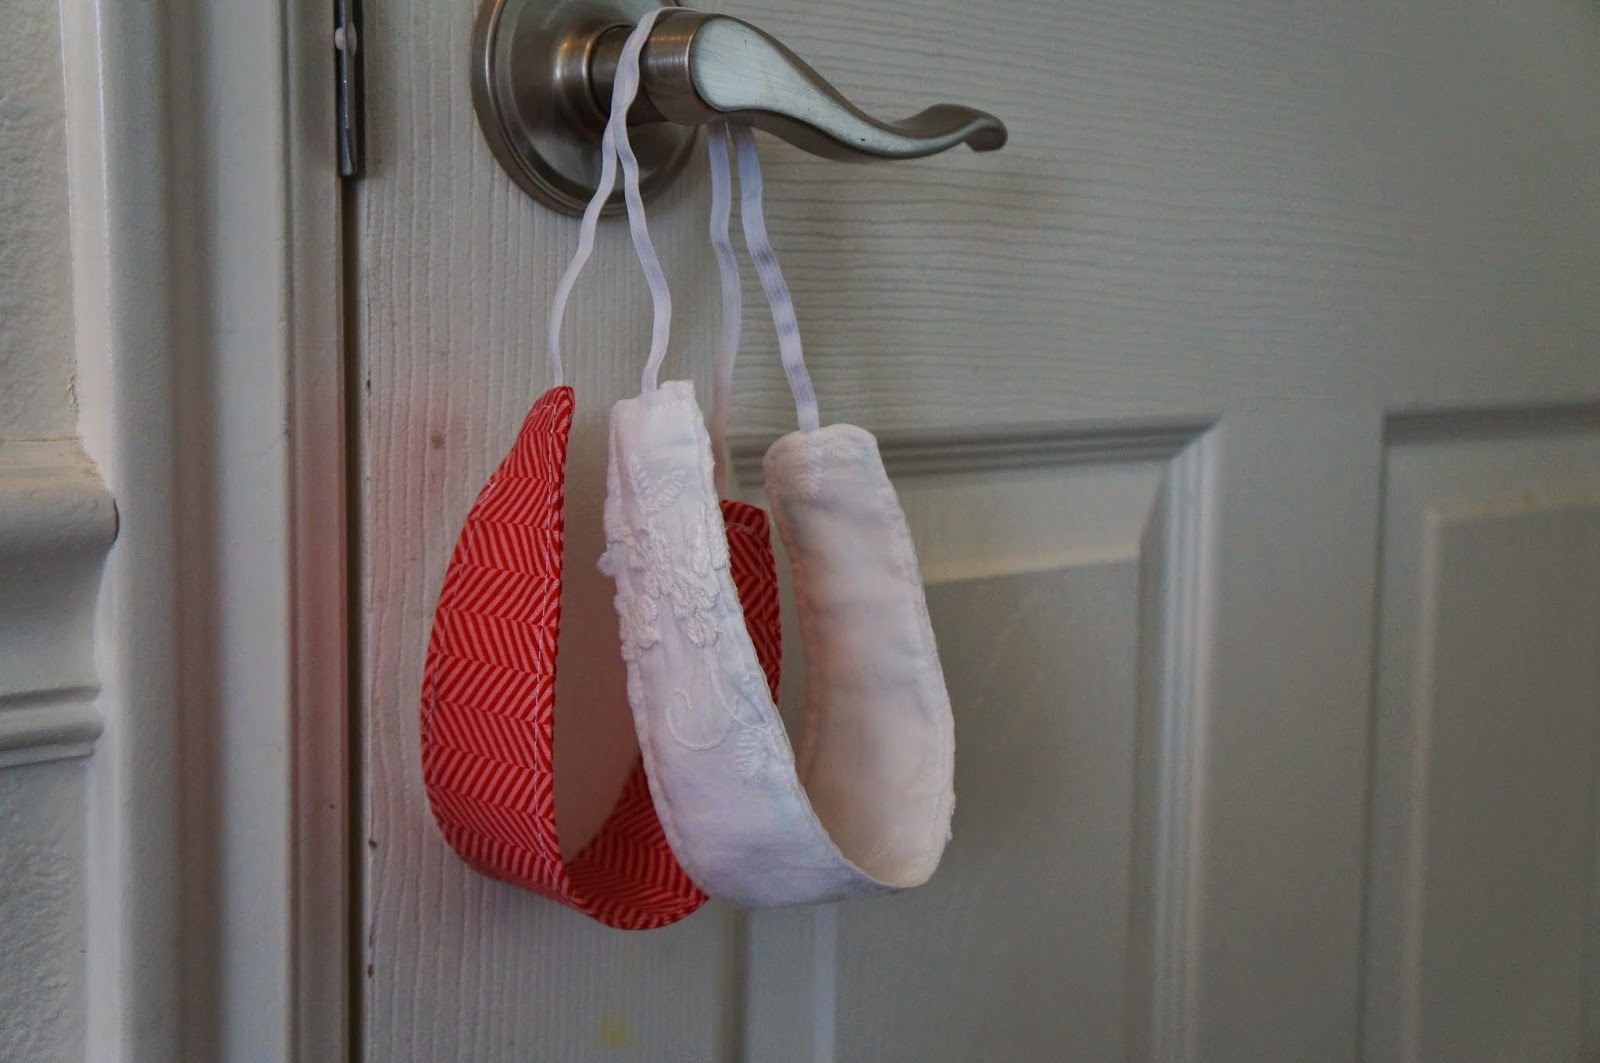
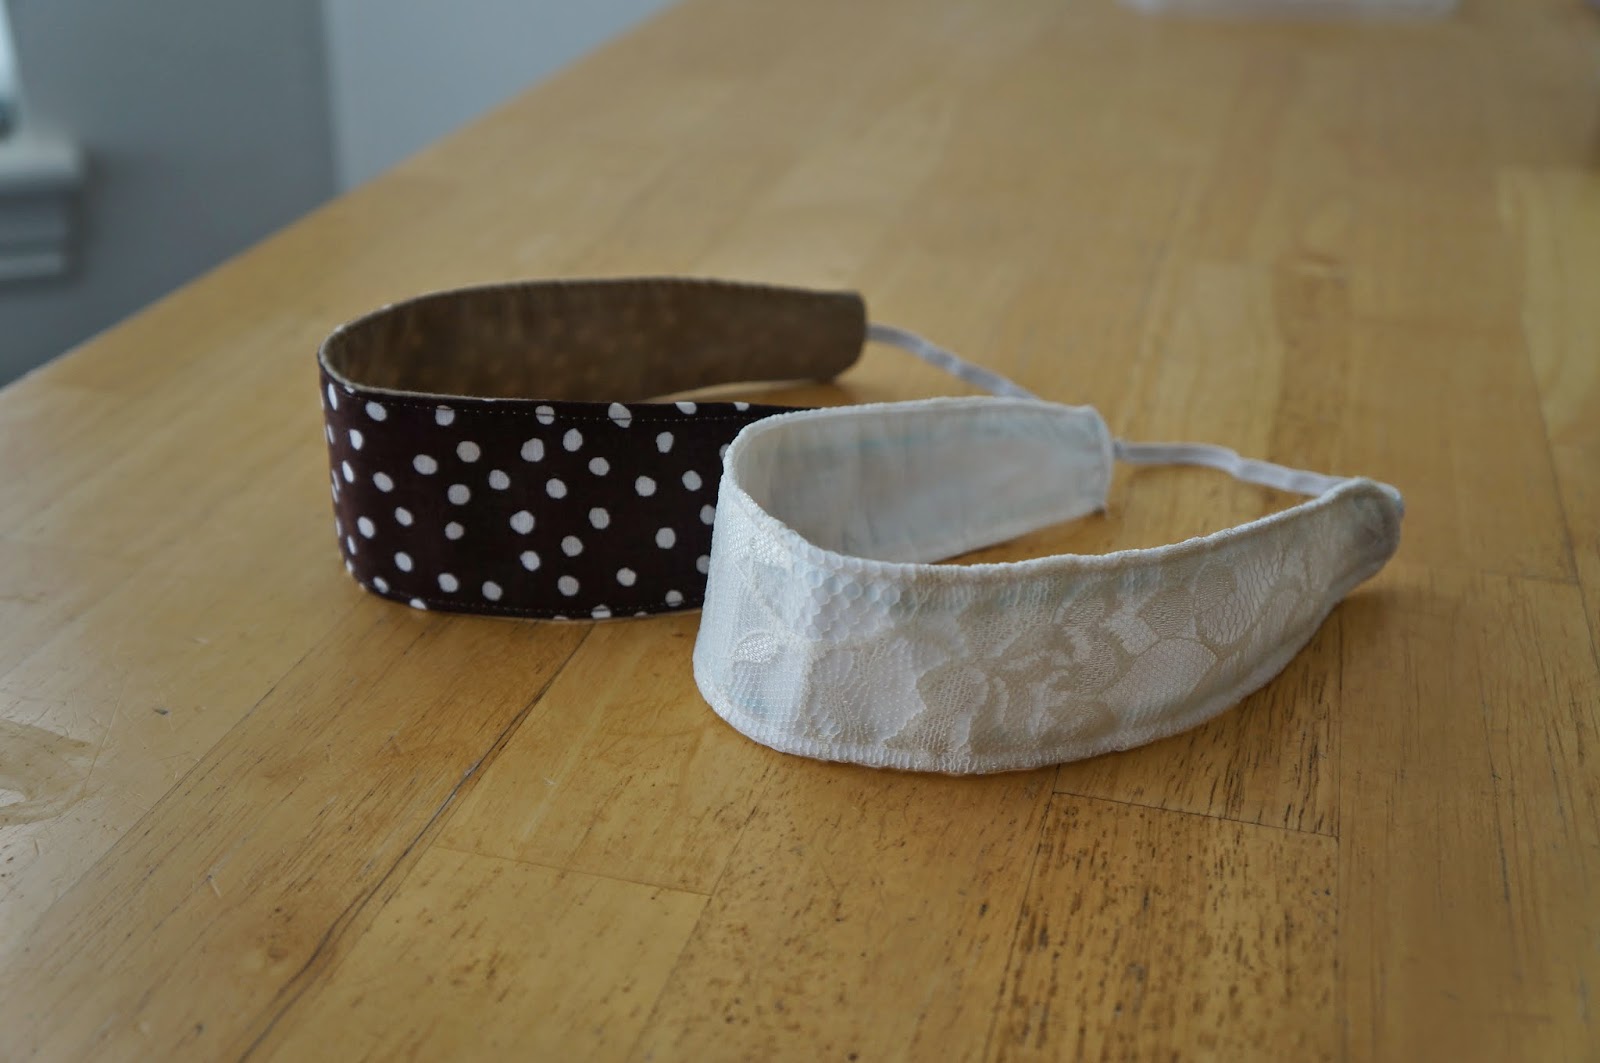
DIY Headband (Reversible)
This was so fun and simple!! I keep wanting to get more into headbands but can never find styles I like. A few years ago I attempted to make my own mod podge headbands and it worked pretty good. But these fabric headbands are so much more comfortable. AND reversible. Reversable? Reversible. Ok.
I found the tutorial HERE and printed off her template of the kids headband pattern. I found out how to make it adult size by migrating to another tutorial for a no-slip headband HERE. (Velcro is the secret!!) Anyway, she says to make the head band 16 inches and to use 6 inches of elastic. It was a perfect fit for my head! It's probably a good idea to measure your head but I don't have the patience for that.
The kids headband is 12 inches long and uses 10 inches of elastic. I thought that was a little weird that the kids headband used more elastic but I tried it on Katy and it is a little loose but she'll grow into it, right?
These headbands were a quick project and I want to make more!! Great way to use up your scraps.
Kid headbands
So cute, right??
Brandon wanted to be involved too :)
Adult headbands
And here are the pattern pieces.
Monday, September 24, 2012
Diaper Cover
Why don't they sell these in the store? I would totally buy them. But I did find some great tutorials here and here on how to make your own. So I used left over fabric from the baby skirts I made and made some matching diaper covers.
I took apart a diaper cover she already had and used that as my pattern.
These were a lot more work then I was expecting. I probably did it wrong. But I'm glad that she has some, now. Maybe I will just buy some little girl panties and use those as diaper covers next time...
I took apart a diaper cover she already had and used that as my pattern.
These were a lot more work then I was expecting. I probably did it wrong. But I'm glad that she has some, now. Maybe I will just buy some little girl panties and use those as diaper covers next time...
Saturday, September 22, 2012
Baby Denim Skirt
If Katy's going to be wearing those leggings she's got to have some skirts to go with them. Right? Right?! I found this simple skirt tutorial here. Skirts have always been something I'm not very good at. But I knew I could do this one because it was just a rectangle piece of fabric and a casing for the elastic. I've done that tons of times.
I found some cute denim fabric at walmart and couldn't pick just one. So I got two pieces, 1/2 yard each. I mean, who has just one denim skirt? For Katy, her measurements were-- Waist: 20" Length: 10". According to the instructions, I added 8" to the waist (28") and divided by two since I was folding my fabric in half (14") and 2.5" to the length (12.5"). Both skirts ended up being a bit long so I did have to trim up the bottom but that was it! Each one took about an hour.
Voila! I may have to find some fabric scraps around the house and make more!!! This could easily be done for little girls, too!
 |
Thursday, September 20, 2012
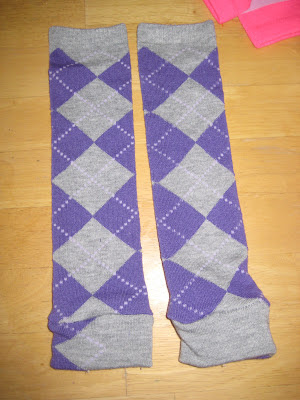
Baby Leggings
I always thought these were kinda funny but now that I have a daughter and it's getting colder, I'm finding that these should be a staple in her wardrobe. So cute for wearing under a dress/skirt for church and convenient for wearing around the house on a cold day.
This was a super quick and easy project. I got this great tutorial here. I bought some women's knee socks at walmart for $2 each. I wanted to get her some plain colors too and the men's sock section has a few options but they all came in a 3-pack and were a little more than I could spend at the time. Next time.
Adding the cuffs on the bottom made these a little long for her. I saw another tutorial here that shows you how to ruffle the bottom of the sock. I will be trying that next time, too. :)
Wednesday, August 29, 2012
Lace skirt
The concept of this skirt was easy but it took me more than an hour to do (like the blogger said). You can find the tutorial here. The white part of the skirt is from an old sheet I've been using for various projects for a while. And I bought the black lace at walmart for $10.
I kinda feel like all that gathered fabric makes me look like a balloon when I wear it. A balloon on her way to the prom. What do you think? Does it flatter me or make me look like a balloon? Be honest.
I kinda feel like all that gathered fabric makes me look like a balloon when I wear it. A balloon on her way to the prom. What do you think? Does it flatter me or make me look like a balloon? Be honest.
Wednesday, August 1, 2012
Baby Skirt
Thursday, May 24, 2012
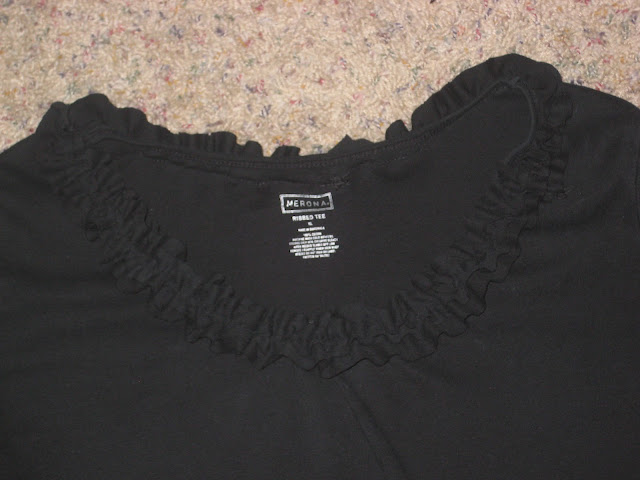
More ruffles!
I originally wanted to do this ruffled embellishment on this shirt but since the sleeves are only 3/4 length, I didn't have enough fabric. Boo. Some day. So I just added one strip of ruffle to the collar of this shirt. and I really like the way it looks. Yay!!
 |
| before |
 |
| after |
Ruffled Neckline
I got this great tutorial here. It was super easy and I love the way it turned out. I am loving all my new clothes!!
 |
| Before |
 |
| After |
Wednesday, May 23, 2012
Crinckled Rosette Shirt
Ok, I think THIS is my favorite shirt so far!! I got the tutorial here.
1. First, I cut the long sleeves of my shirt and cut out circles from the sleeve scraps. I cut 3 sets of circles (large, medium, and small), 15 each.
2. Stack the circles and then fold it into quarters and sew. Then open it, fold in different direction and sew again to make a crinkled look.
3. Attach each flower to the shirt by hand.
4. For the sleeves I cut off the hem of the original sleeve and attached it to the cut part. A tutorial for that can be found here.
Tuesday, May 22, 2012
Ruffle T-shirt
I love this shirt! I think it's my favorite so far! I've always wanted to know how to make a ruffle and I'm so glad I know now! I'm still having trouble figuring out how to fix the sleeves on these long-sleeve-now-short-sleeve shirts. You can find the tutorial here.
 |
| BEFORE |
 |
| AFTER! |
Monday, May 21, 2012
Multi-Layered flowers
Another shirt update. Found this great tutorial from Make it and Love it. I forgot to take a before picture but this shirt used to be a plain, long-sleeved white shirt. I cut off the sleeves and made flowers from the sleeves. It was harder than I thought to sew on the flowers. I had to use the hand wheel for pretty much all of it. But what's great about these flowers is that the spirals don't have to be straight. In fact, I say the more skiwampus the better! Love it!!
Saturday, May 19, 2012
T-shirt Shrug
This is such great tutorial I found here. I have a couple of shirts that just don't fit me quite right anymore and have been wondering how I could re-purpose them. This was an easy project! It's pretty different for me to wear something like this. Lately all I've had are plain t-shirts. This makes me feel feminine and pretty! And they're a great little way to dress up an outfit. Yay!! This would also be such a cute accent on a pregnant woman!!! (this is not an announcement)
 |
| Grab a t-shirt, cut up the middle of the front of the shirt and cut off neck band. |
 |
| Turn shirt inside out and fold 1 inch along the cut edge to form the casing. Pin and sew. |
 |
Pull a ribbon through the casing using a safety pin. Pull tight and tie.
|
Tuesday, February 14, 2012
Little Boy Tie
I was SO happy to see a tutorial on little boy ties. It hurts me to go to Tie One On at the mall and spend $20 on one tie for Brandon. I went through my fabric scraps and made 7 ties for free! For those who are LDS, you can use old garments for whatever you want once you've cut the marks out. I used some old silk garments for the inside fabric of the tie. Makes them look like fancy and like they were store bought!
You can find instructions for this project here. She also has a link to the pattern. These were so easy to make and didn't take too long. Especially if you don't make 7 ties like I did :)
The tutorial says that 1/4 yard of fabric would be plenty. That's probably right. You could probably use old t-shirts or something! Also, I lengthened a couple of these ties just to see which ones would fit best on my almost 3-year-old. The original pattern length was fine.
Monday, August 22, 2011
Baby girl blessing dress, cont.
Well, I compared the dress I made to another dress we have for the baby that is size 3-6 months. My dress looks like it could be worn by a 1-year old! Devastating. The thought of taking that dress apart and re-doing it a smaller size was just too much to consider! My mom had the genius idea to buy some ribbon and attach it to the dress so that when it's tied I can make whatever size I want to fit the baby. So, I did! Thanks, Mom! And I think it adds a nice touch to the dress, too. Now it's even more beautiful!
Subscribe to:
Posts (Atom)


